Blend and filters using Photoshop.
Instructions
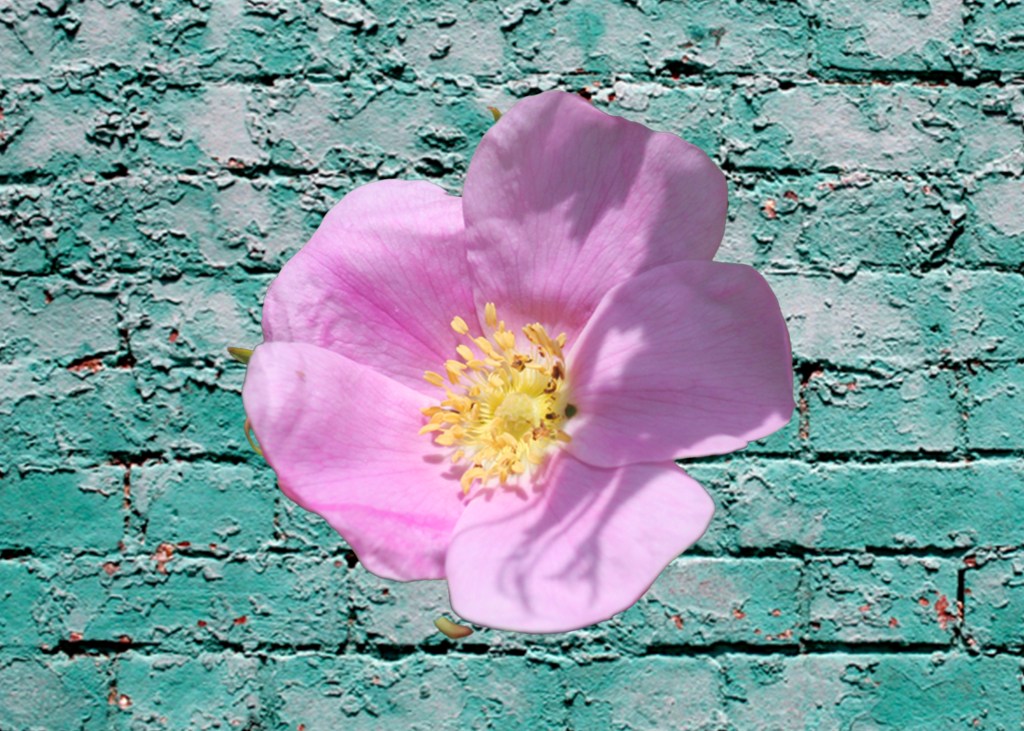
This was my first Photoshop assignment, where I was tasked with downloading two images—’Blue Brick Wall’ and ‘Pink Flower’—and following the instructions provided by Ms. Curtis
Blend modes
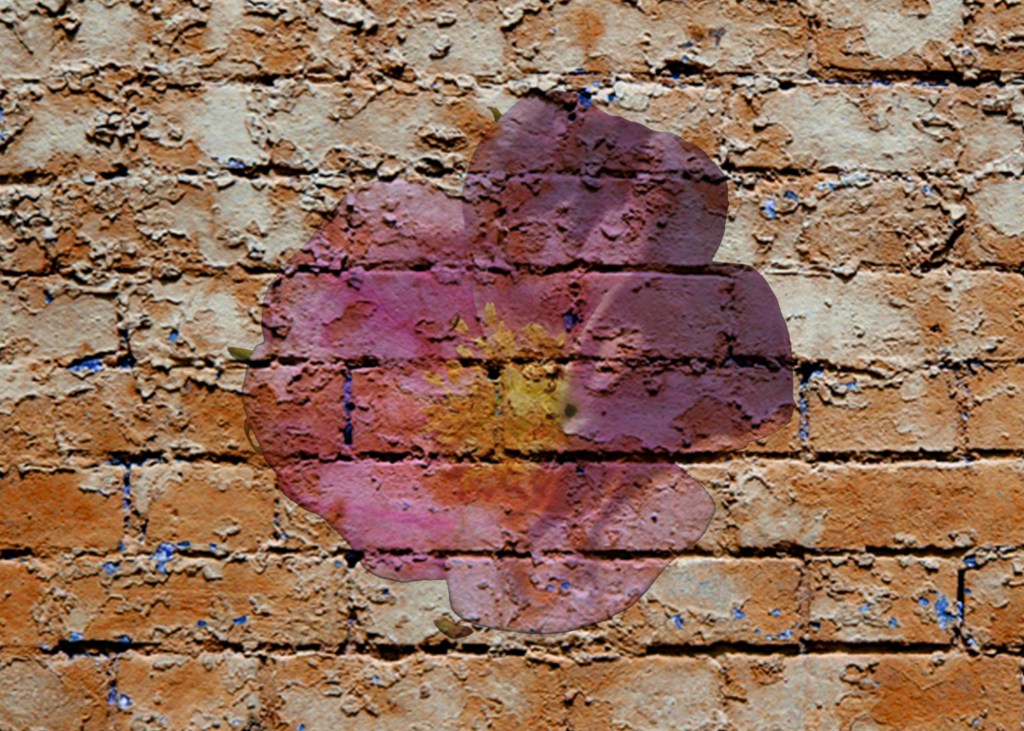
I created two separate pages in Photoshop—one featuring the flower and the other with the blue brick wall. Using the ‘Select Object’ tool, I clicked on the flower, copied the image, and pasted it onto the brick wall.
Adjustments

I selected the flower layer and changed its blending mode to ‘Multiply.’ Then, I switched to the brick wall layer, went to the Adjustments panel, and clicked on ‘Hue/Saturation.’ I set the hue to -148, saturation to +21, and lightness to -5, which resulted in the final effect shown above.
Filters
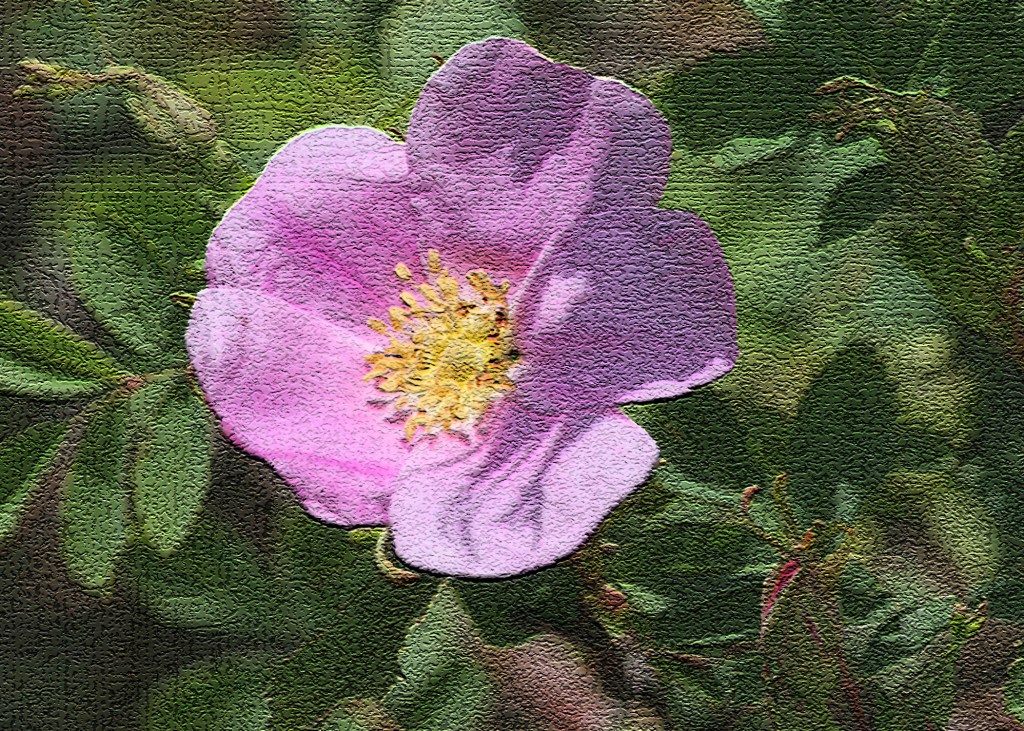
There were many filter options, making it difficult to choose just one. To achieve the result shown above, i selected filter ‘Craquelure’ then, I adjusted the crack spacing to 90 to add more light to the image, set the crack depth to 10, and increased the brightness to 10, which helped the crack lines stand out more.


Dallas, Texas. 2025.
Designed with WordPress

Proudly powered by WordPress

